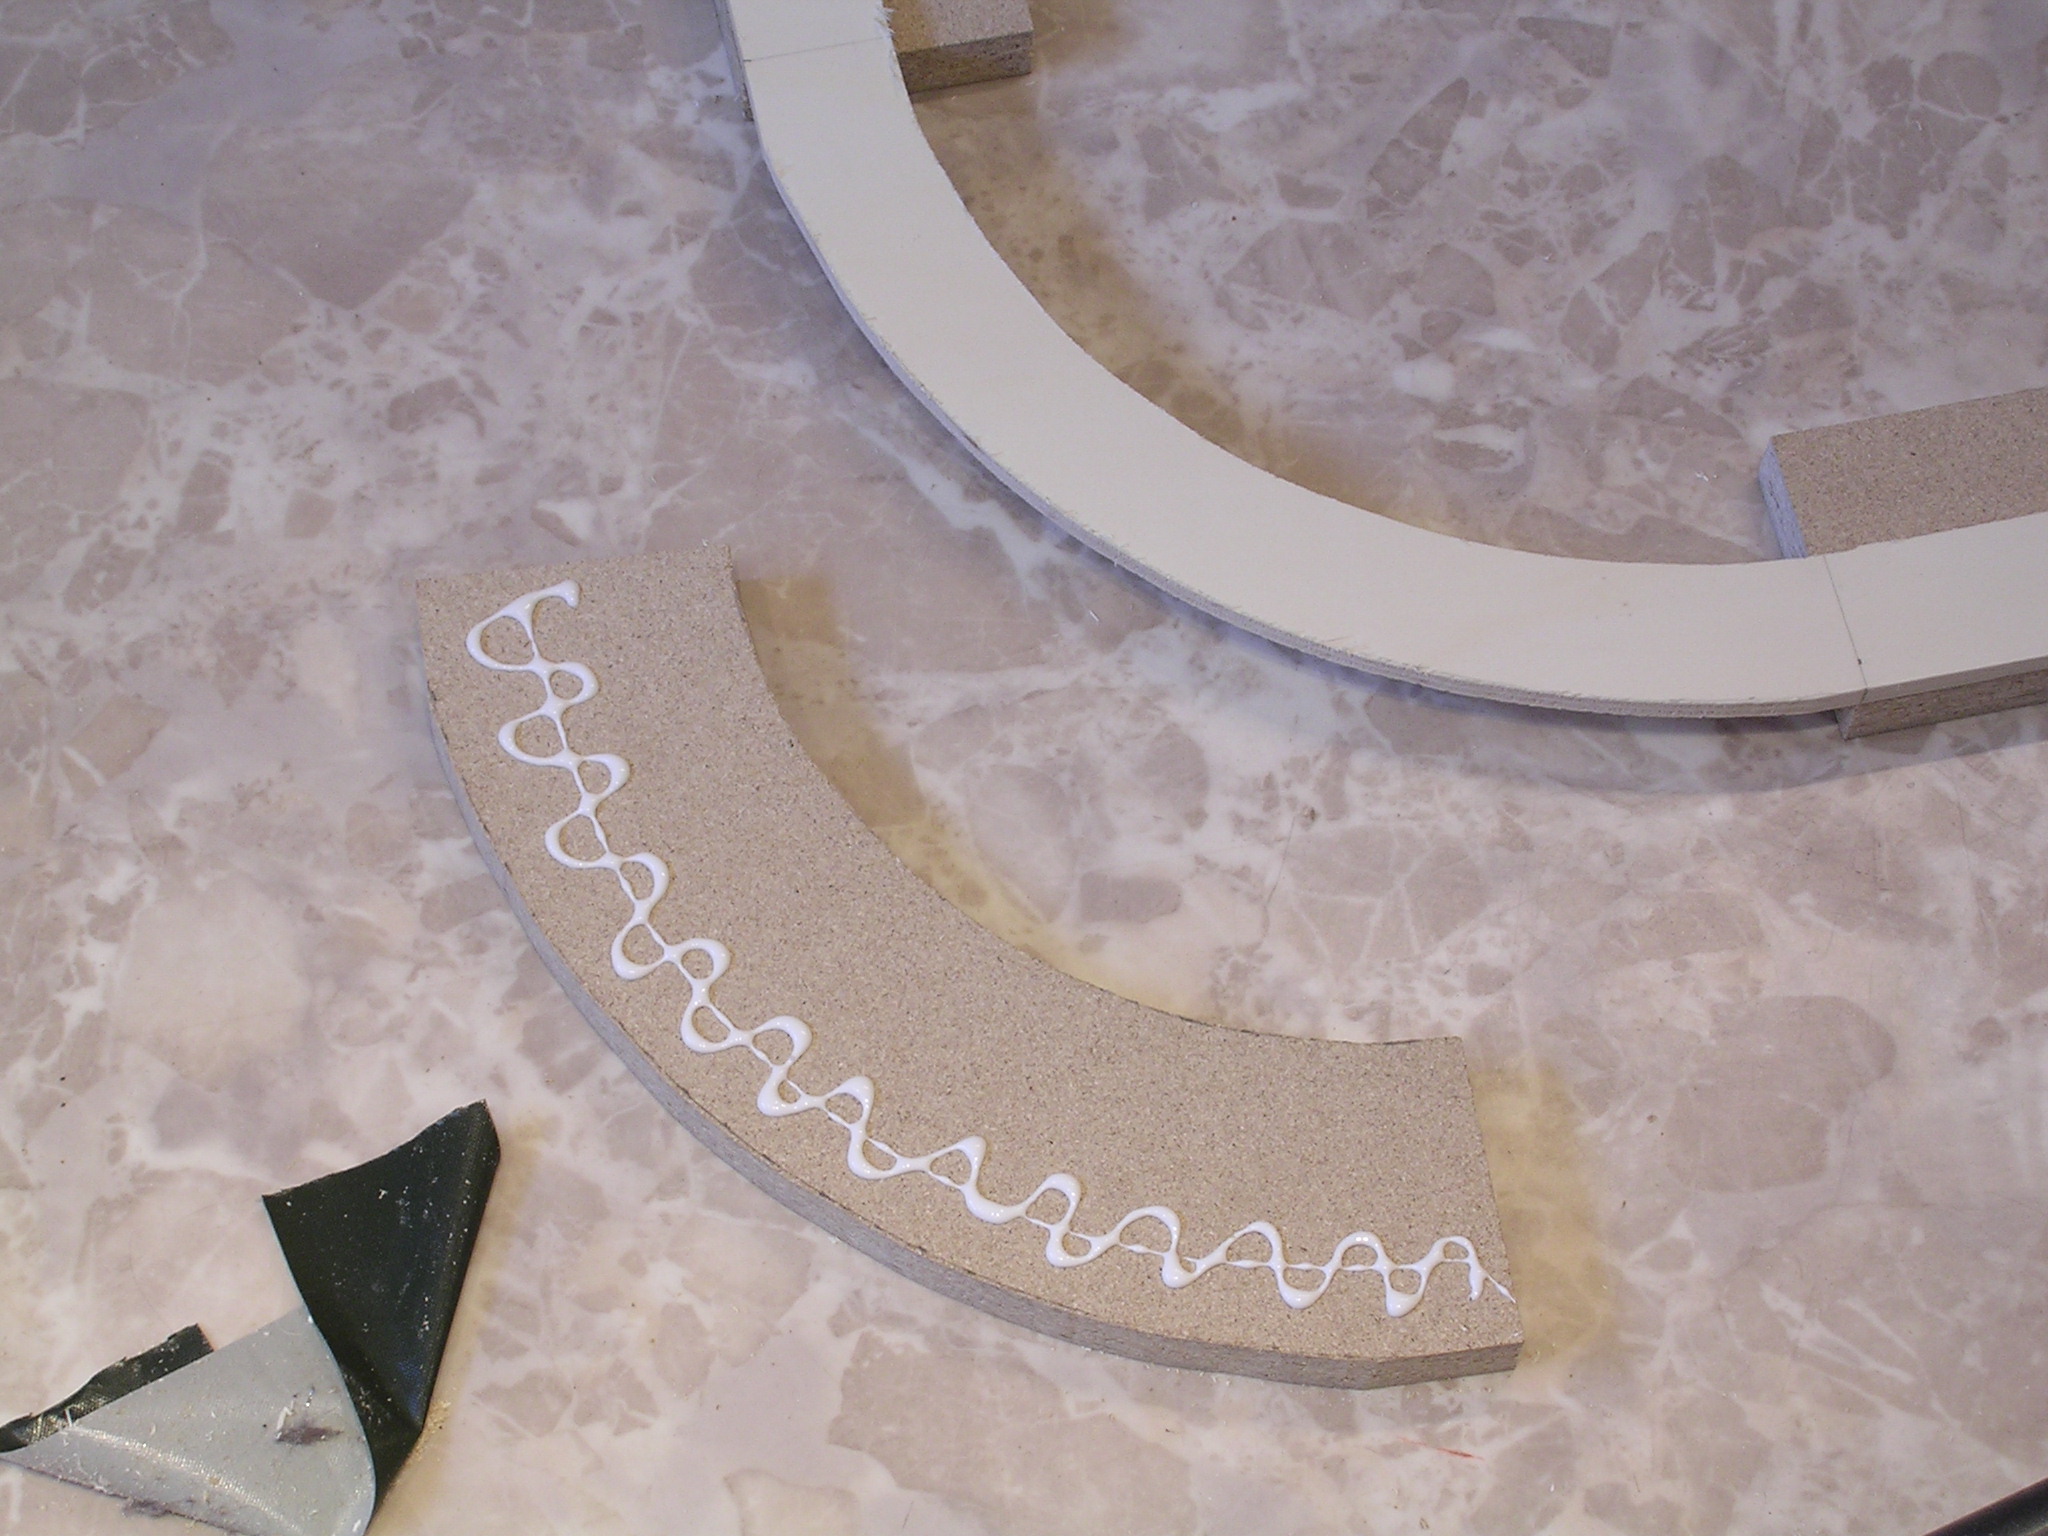
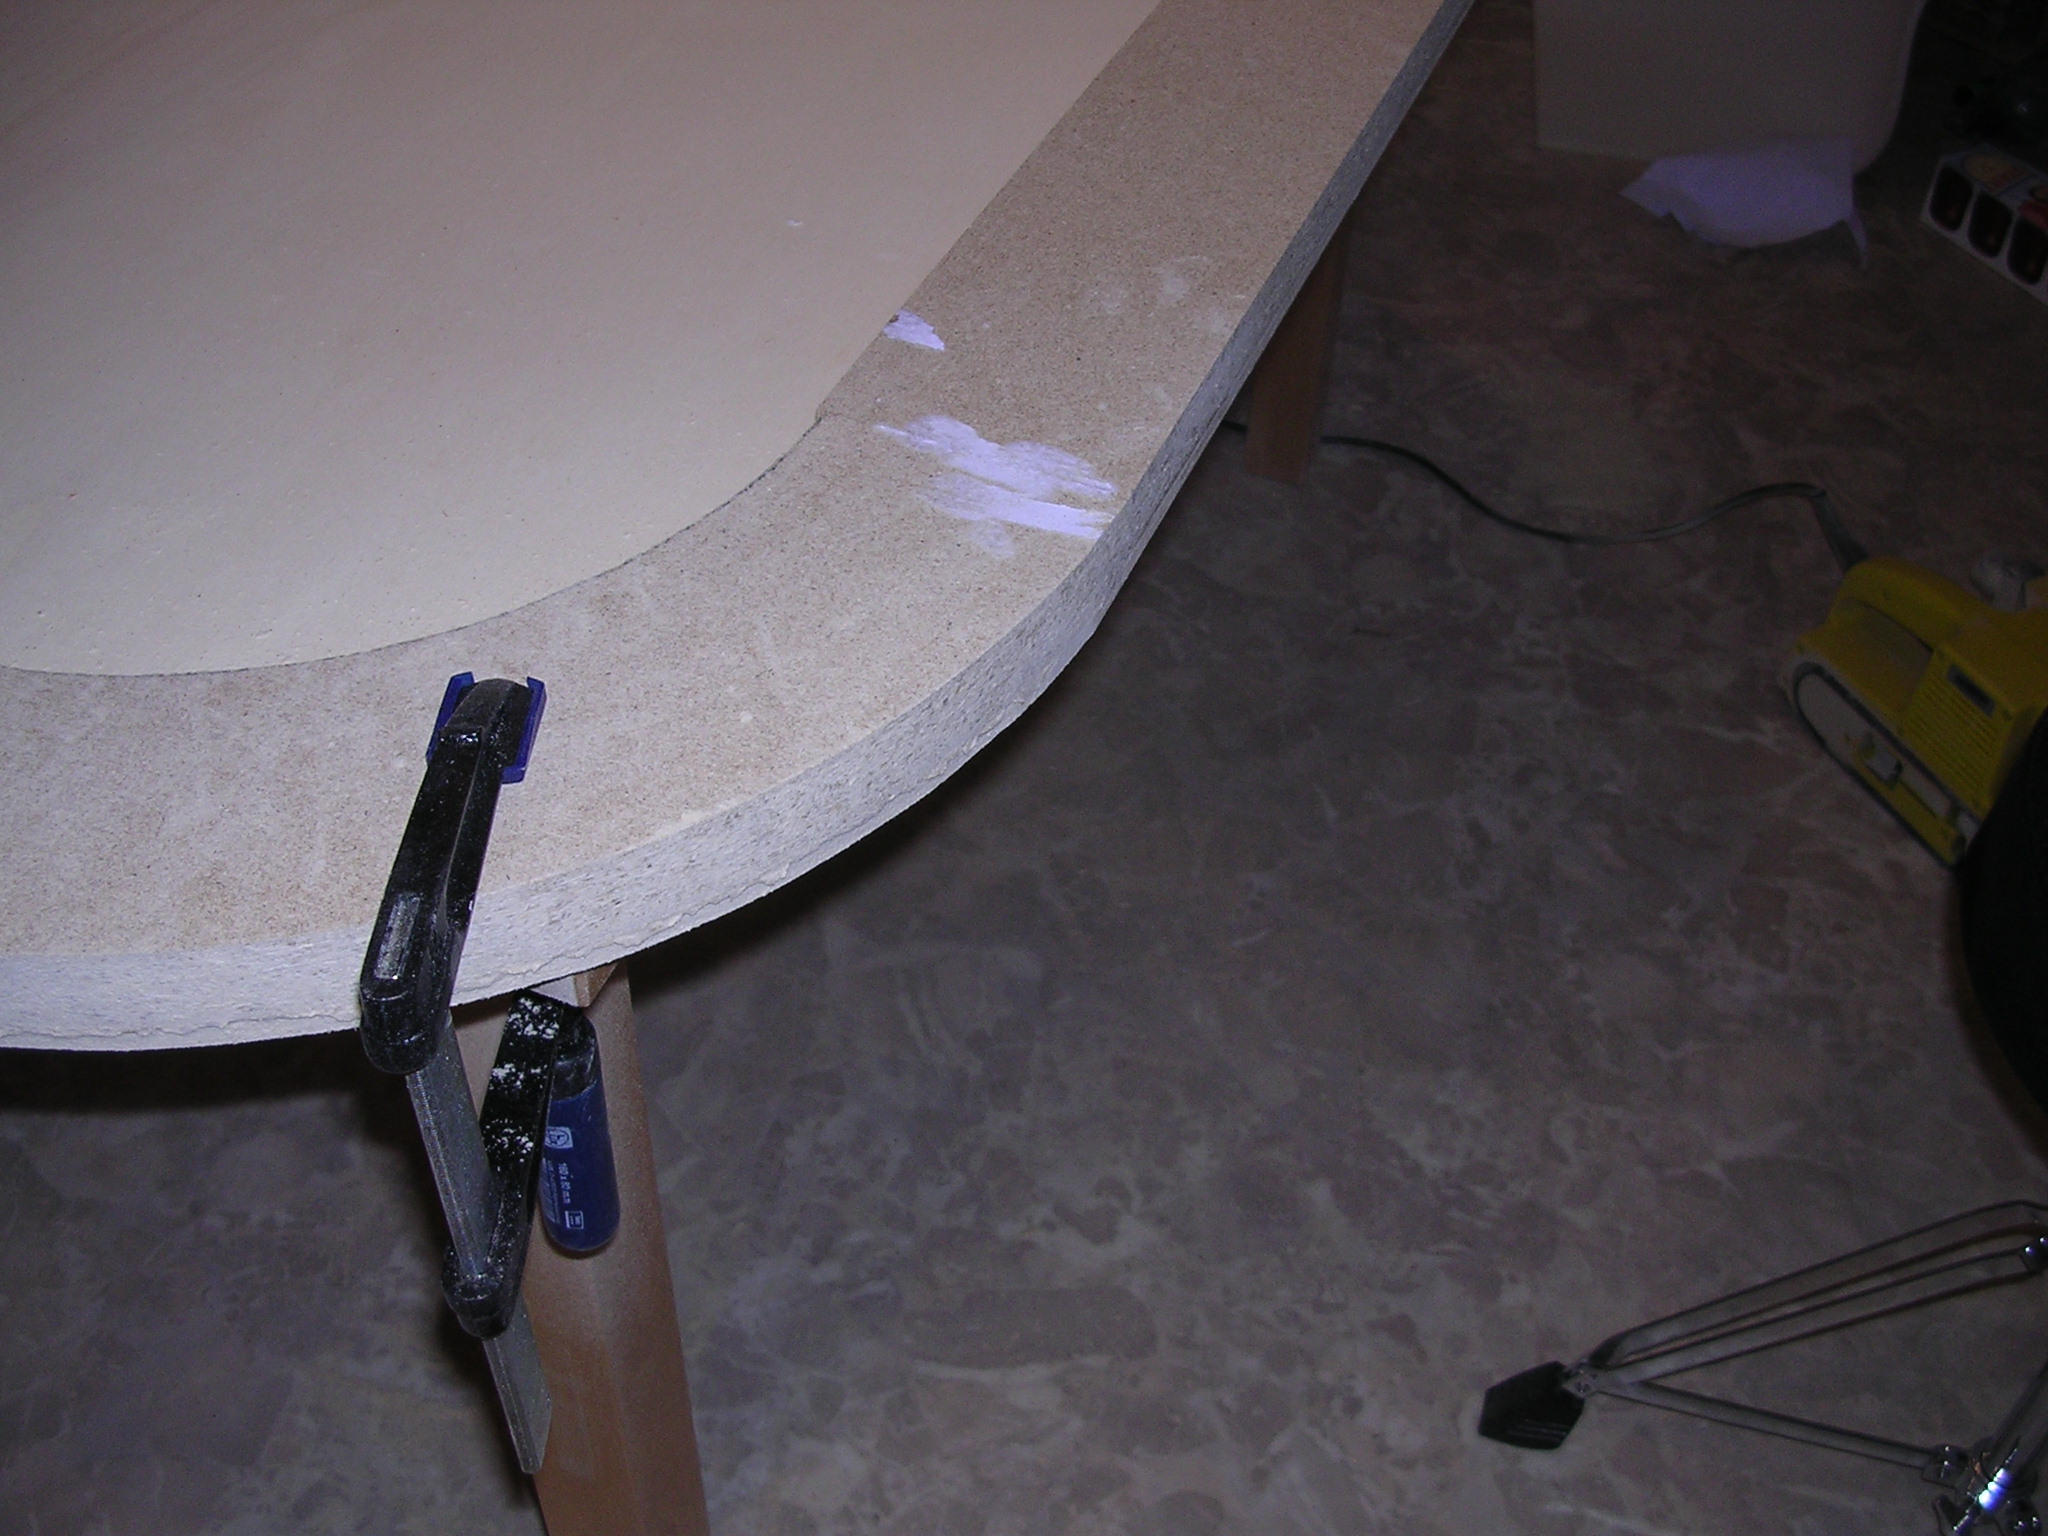
The upper rail parts were glued to the plywood. Then I added pressure (on the glue bottle it says "apply pressure for 15min" ) by firmly screwing the two parts together with a couple of wood screws. (Note that the rail lies on the floor upside down)
Assembling the Rail
The upper rail parts were glued to the plywood. Then I added pressure (on the
glue bottle it says "apply pressure for 15min" ) by firmly screwing
the two parts together with a couple of wood screws. (Note that the rail lies
on the floor upside down)
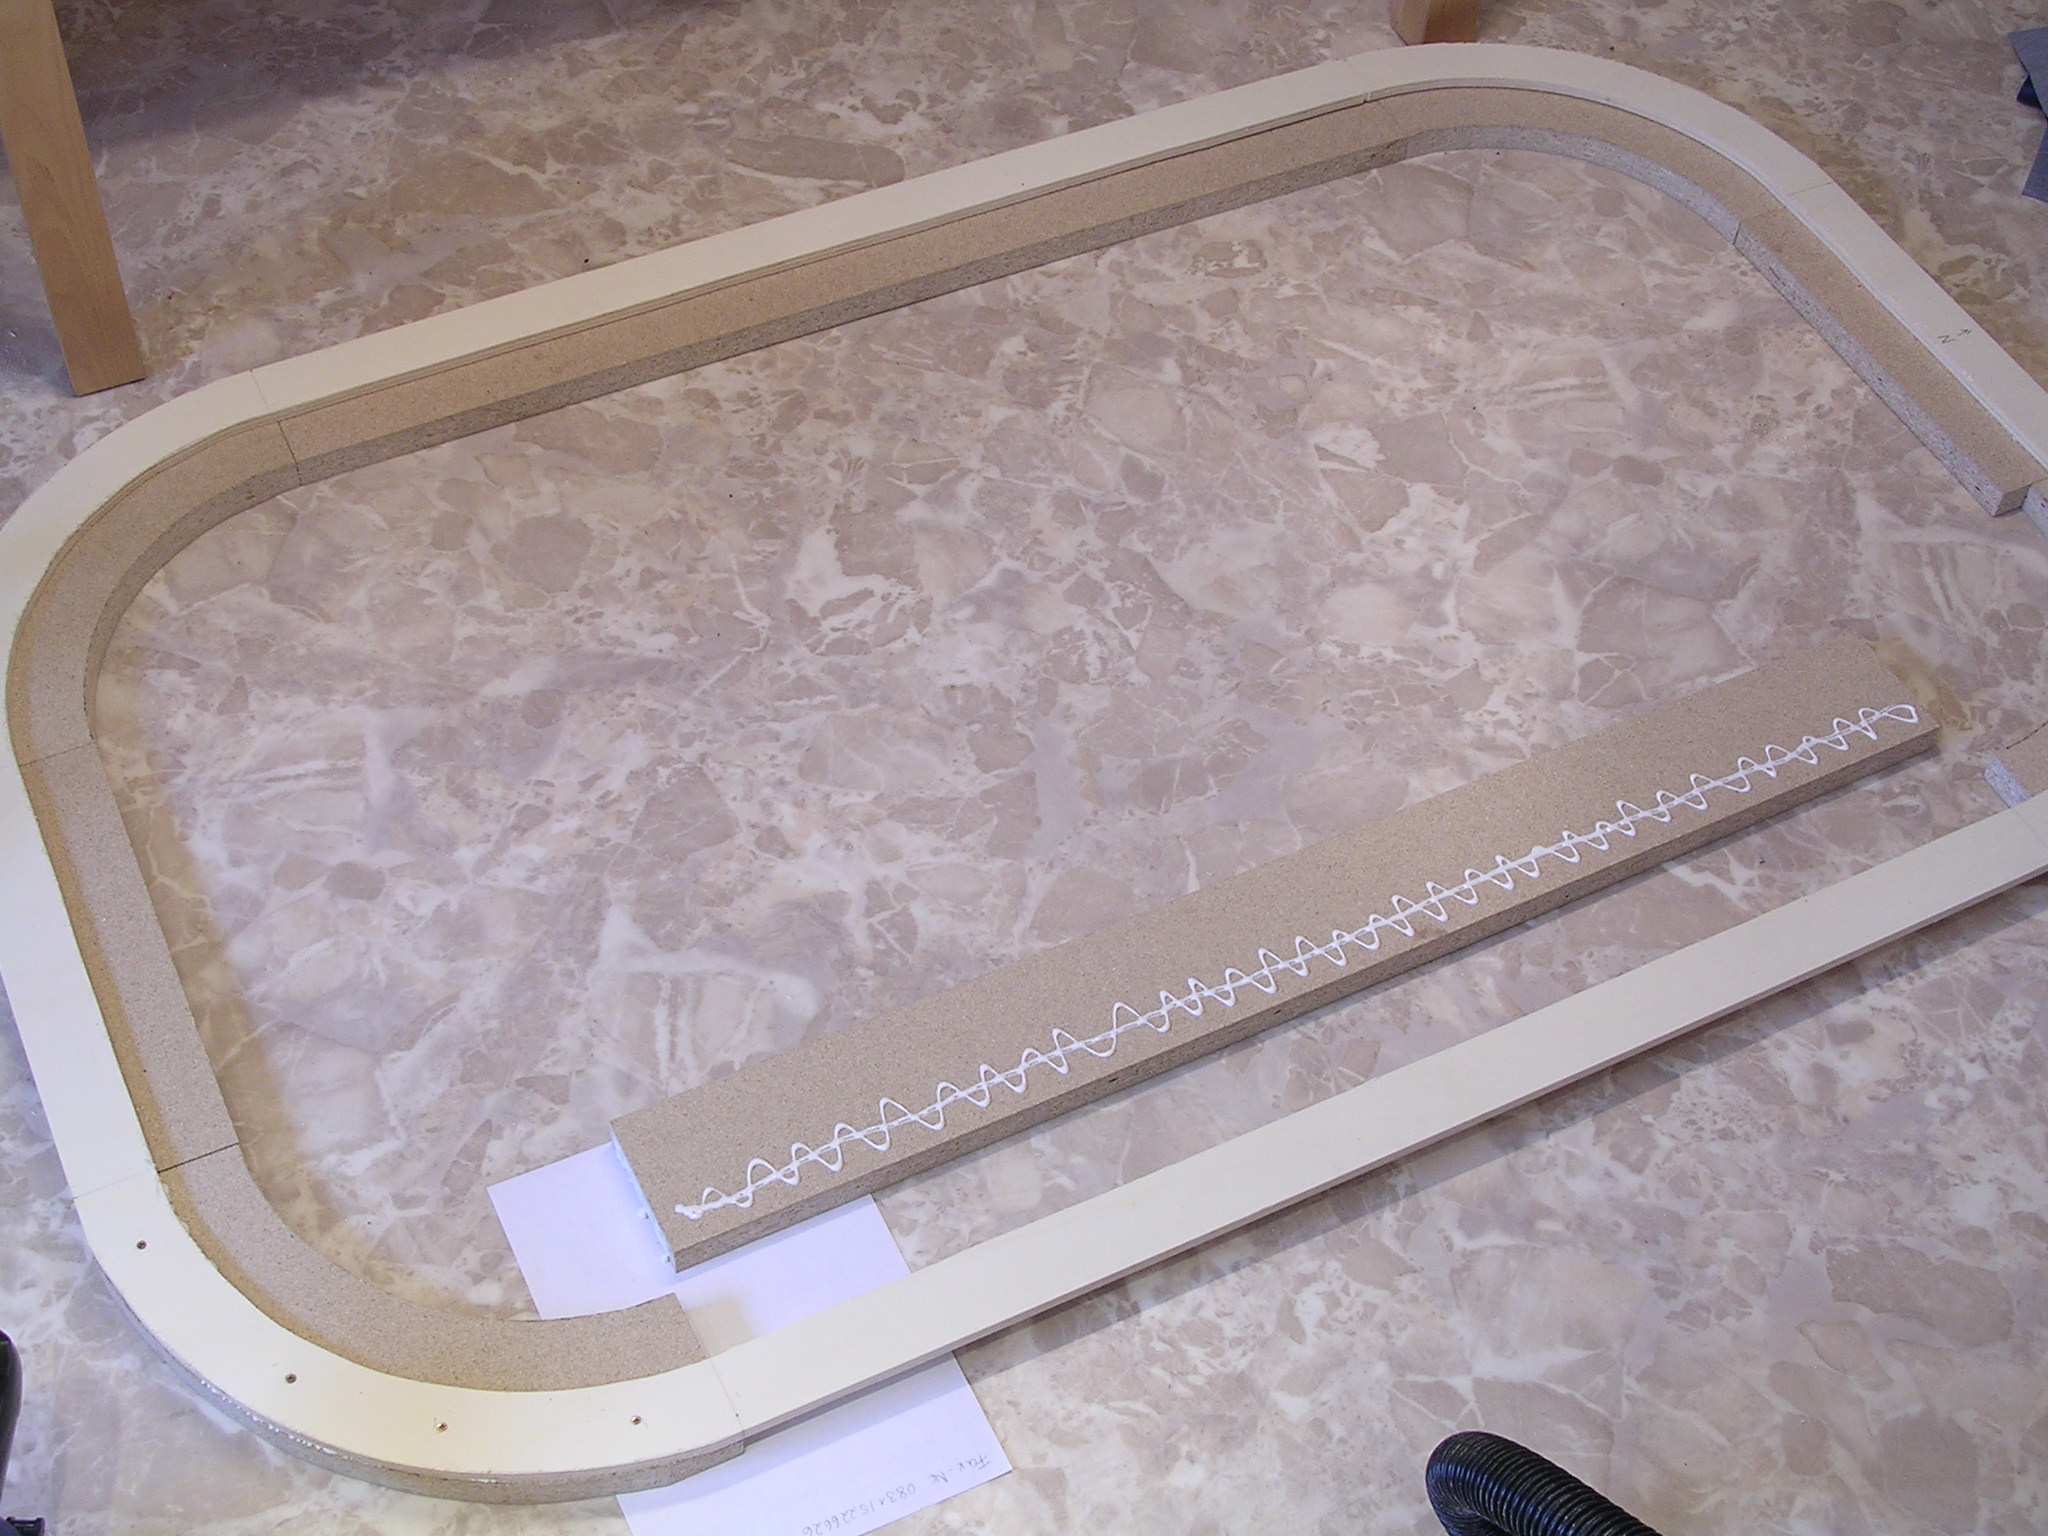
Here you see the first part screwed on, if you take a closer look, you'll see
the glue coming out at the outer edge, which is a good sign for proper pressure.
You will also see that there is glue on the head ends of the parts. The paper
sheet underneath is to prevent glueing the whole thing to the floor.
The Rail, now assembled, needed a little finishing with a belt sander. To make
the padding easier, I rounded off the upper inner and outer edges with the sander
as well. This step created considerably more and finer dust in my kitchen than
the cutting before, which made my girlfriend, lets say, a _little_ upset..
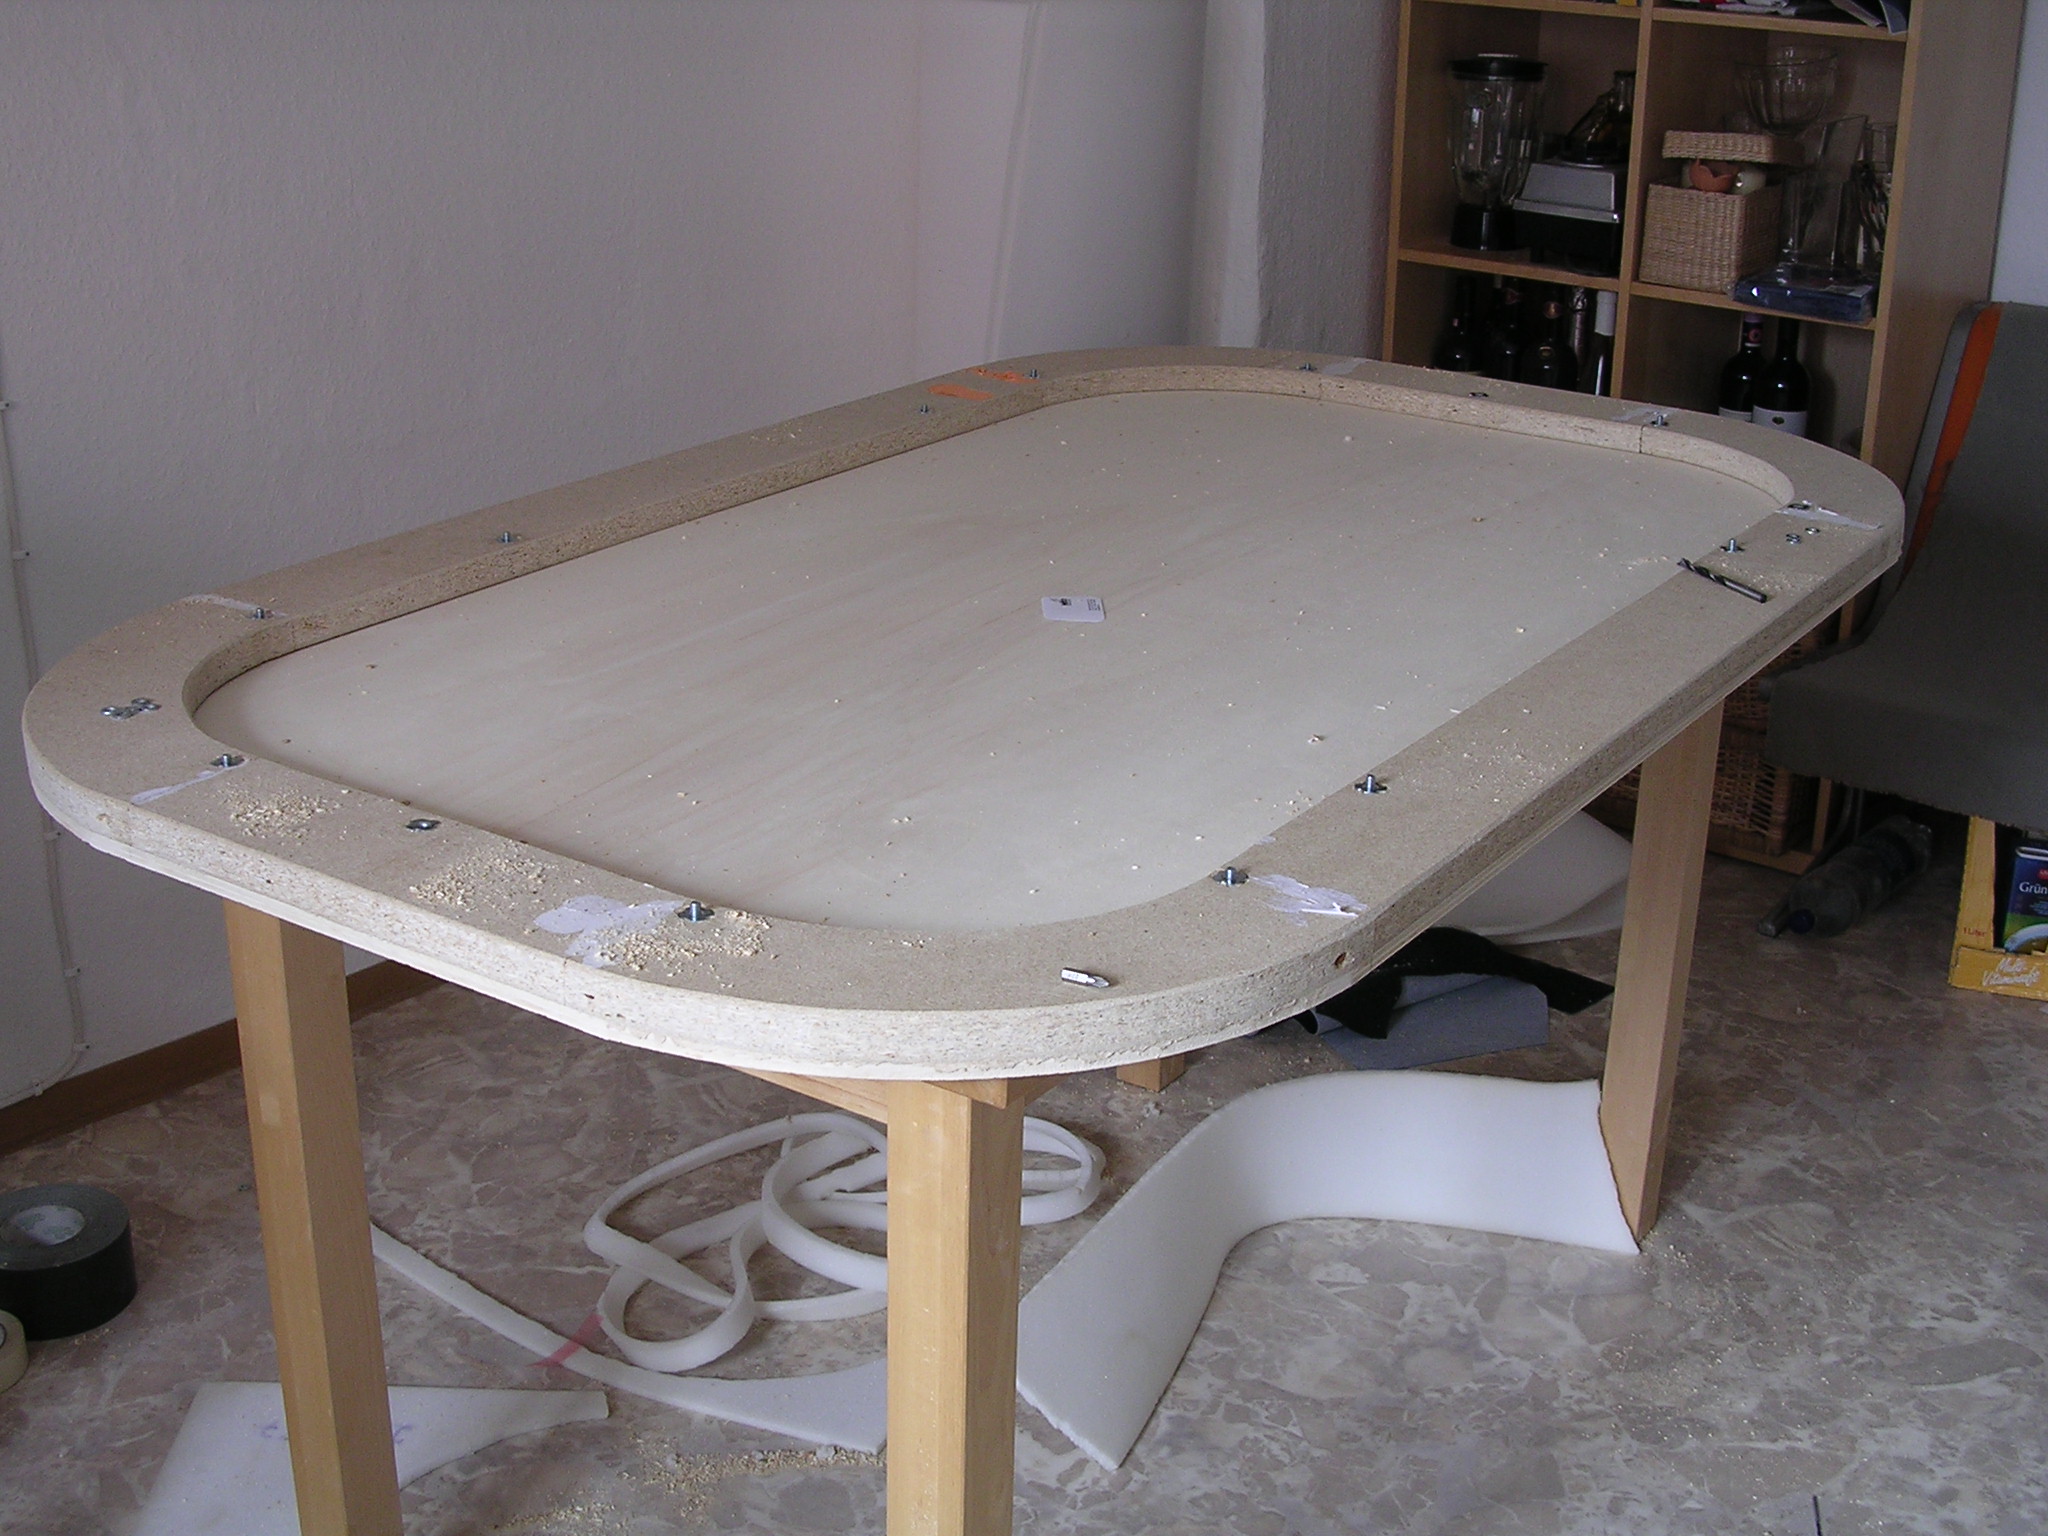
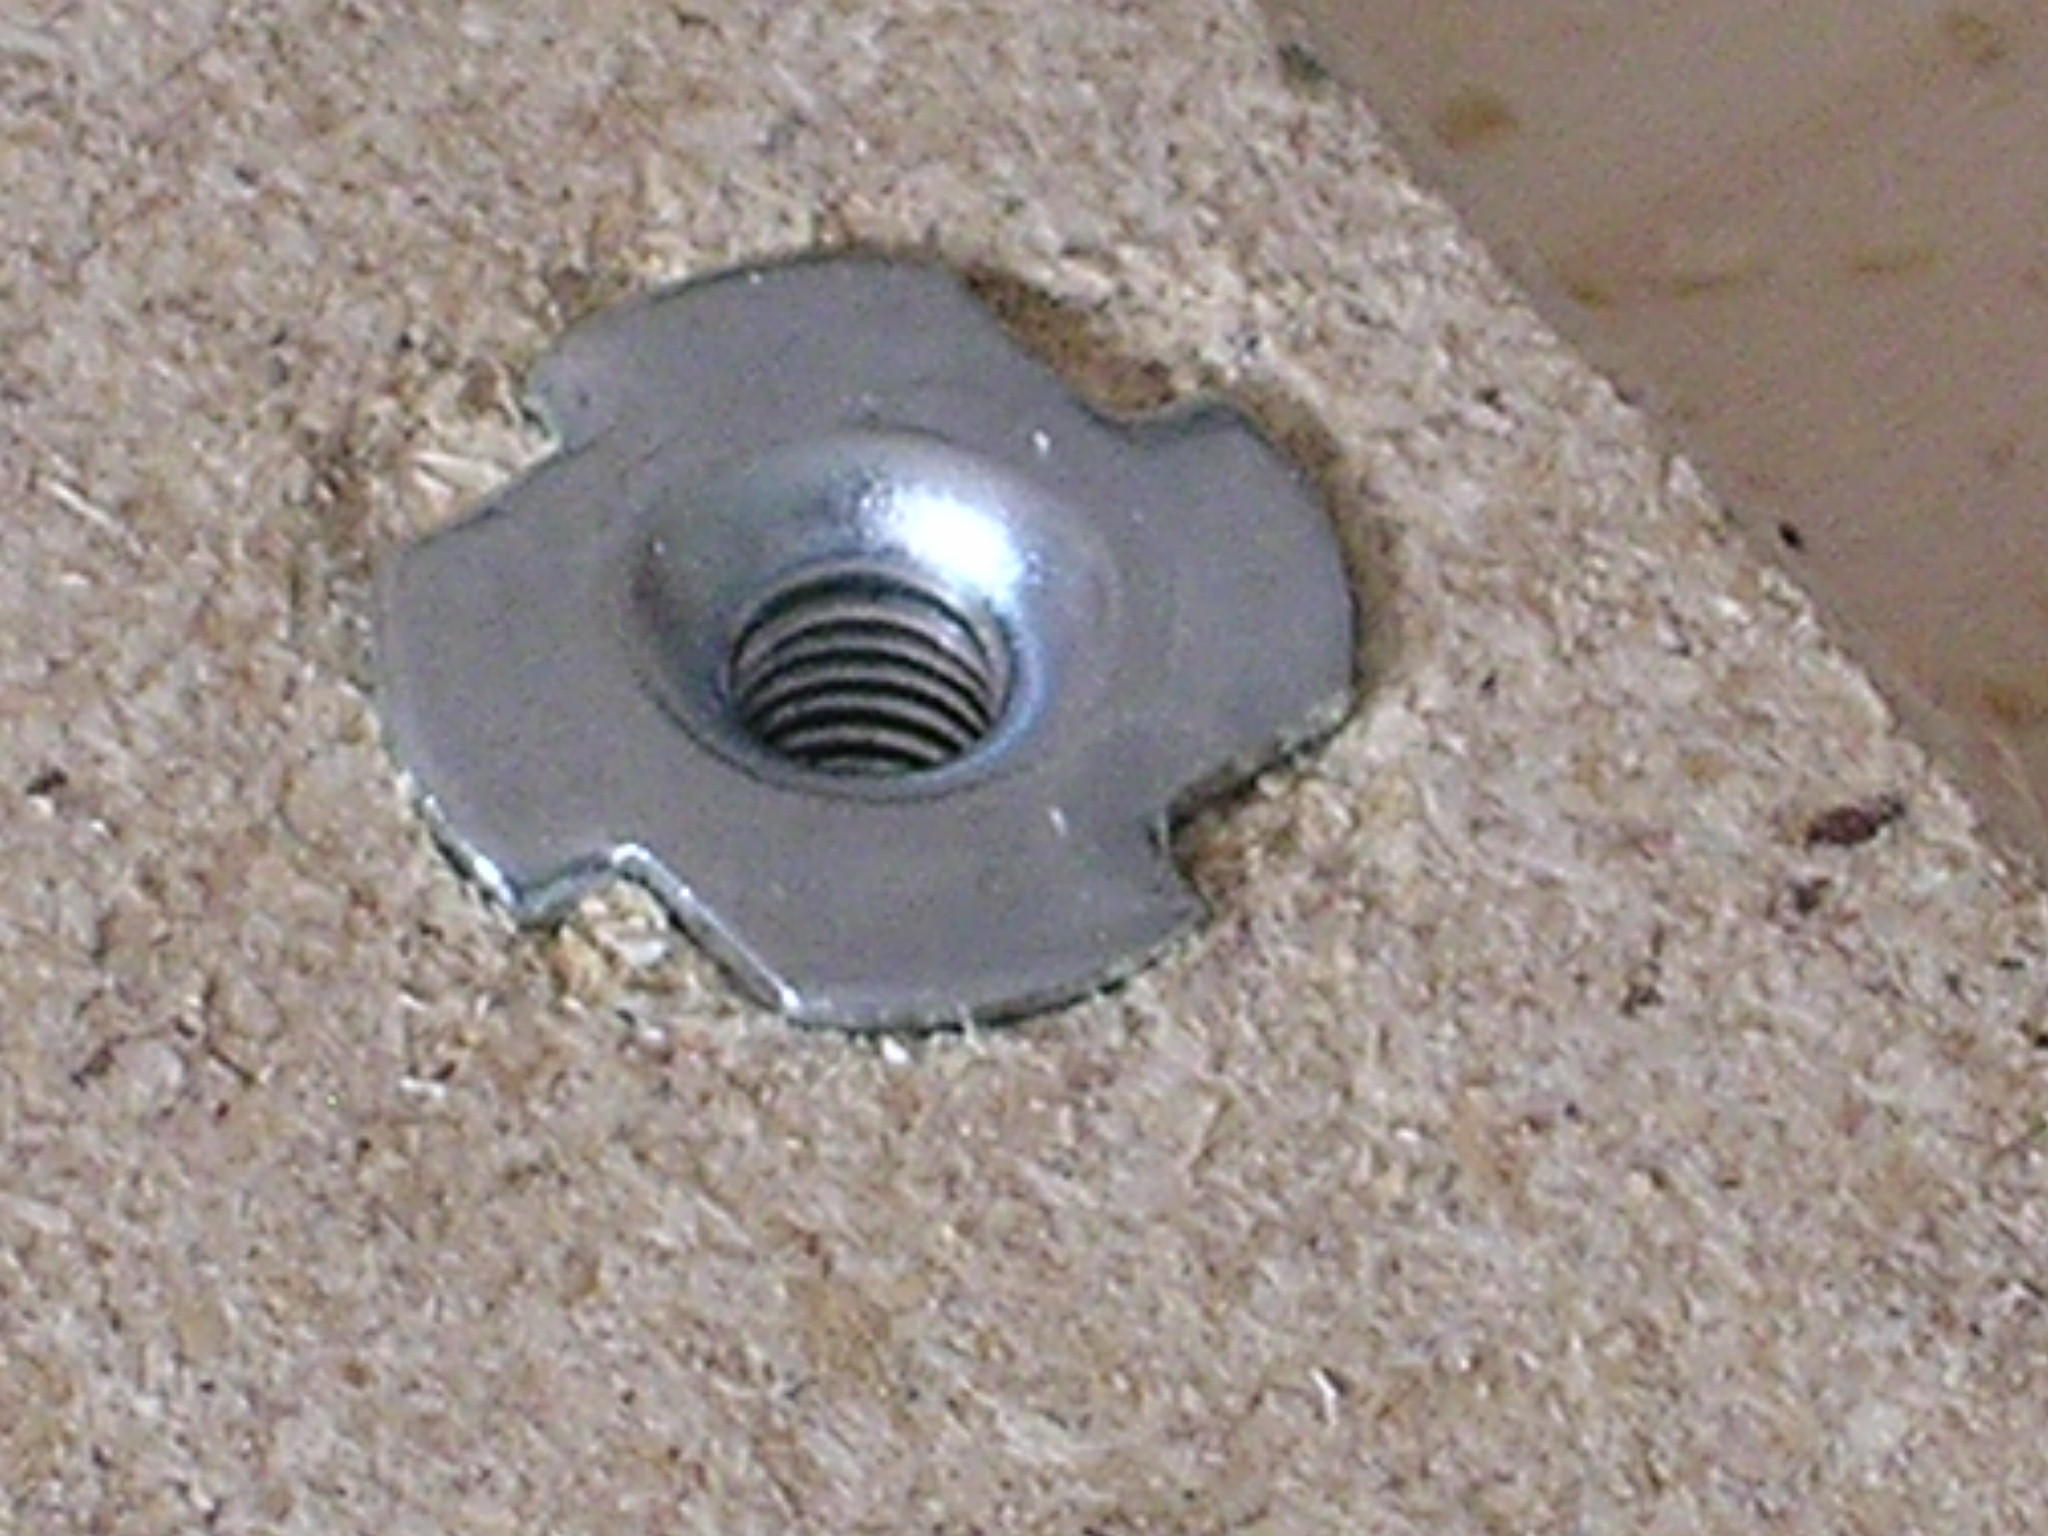
Now it was time to install the T-Nuts. These nuts are needed to hold the rail
in place, when the table is finished. I know this could be done with wood screws,
but i wanted T-Nuts to ensure I can take off the rail for a replacement of the
surface cloth later.
I cut a small hole for the T-Nuts, because I didnt want the nut to stand out from the surface of the rail. (which may be noticeable through the padding later)